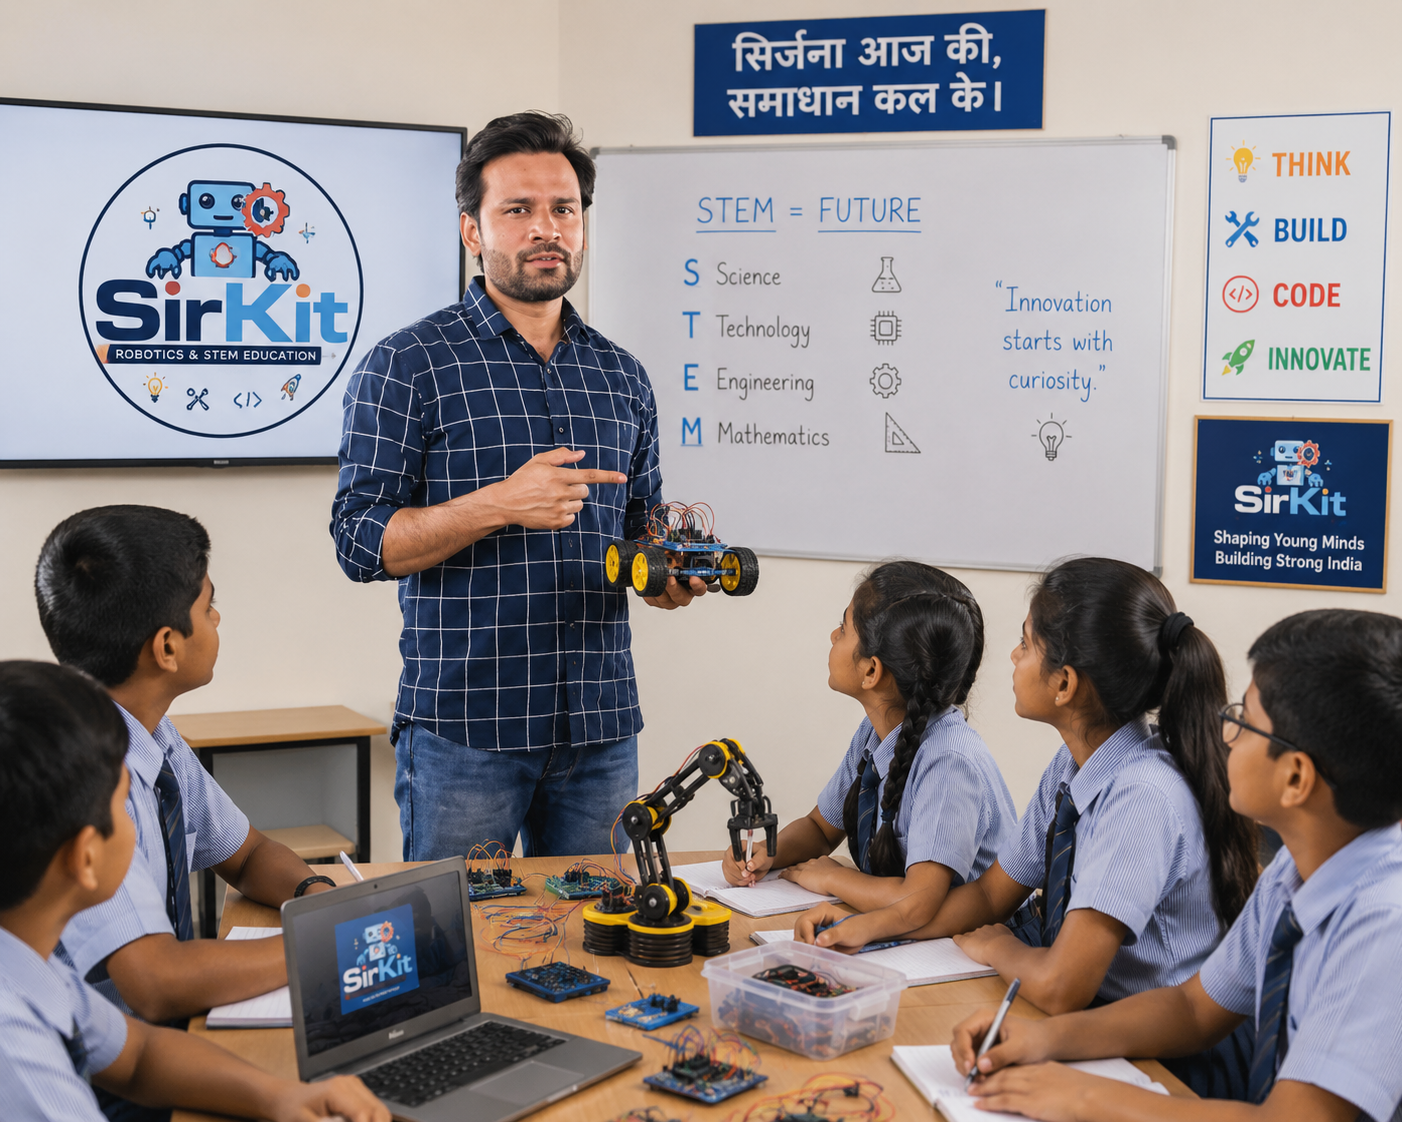
Build the next generation of robotic innovators.
A complete school-ready learning framework covering STEM fundamentals, electronics, coding, robotics, sensors, IoT, AI, autonomous systems and real-world innovation projects.
Learn → Build → Code → Challenge → Create
Every lesson should move from concept to physical construction and then to problem solving. Students should not only copy a project; they should understand, modify and eventually design their own solution.
Zero to Hero Journey
Recommended progression; schools can map each level to their class groups and academic calendar.
STEM Explorer
Electricity, components, circuits and logic.
Junior Robotics Builder
2WD car, Arduino, motors and basic programming.
Smart Robotics Developer
Sensors, automation and autonomous decisions.
Robotics Programmer
Line following, PWM, calibration and algorithms.
IoT Robotics Developer
ESP32, Wi-Fi, web and mobile control.
AI Robotics Developer
Vision, voice, detection and AI decisions.
Autonomous Robotics Engineer
Navigation, feedback, PID and advanced systems.
Young Innovator
Problem discovery, prototype and product thinking.
Modules, steps, components & projects
Open any level for the complete teaching plan, hardware list, lesson sequence, projects, challenges, assessment and expected outcome.
LEVEL 0 · STEM EXPLORER
STEM & Electronics Starter
Age 6–8 · Classes 1–3 · Recommended 8–10 weeks · 1 session/week
⌄
STEM & Electronics Starter
Age 6–8 · Classes 1–3 · Recommended 8–10 weeks · 1 session/week
Learning Goals
- •Understand what STEM, machines and robots are
- •Recognize basic electronic components
- •Build safe simple circuits
- •Understand input and output
- •Use basic if/then logic
Components
- •LEDs (red, green, blue)
- •Resistors: 220Ω / 330Ω / 1kΩ
- •Push buttons
- •Buzzer
- •Mini switches
- •Battery holder
- •AA/AAA batteries or low-voltage battery pack
- •Breadboard
- •Jumper wires
- •Small DC motor
- •Simple motor/fan propeller
- •Alligator clips (optional)
- •Basic screwdriver
Module Sequence
- •M01 — What is STEM?
- •M02 — Machines and Robots
- •M03 — Electricity & Safety
- •M04 — Battery, Polarity & Circuits
- •M05 — LEDs & Resistors
- •M06 — Switches & Buttons
- •M07 — Buzzers & Motors
- •M08 — Input → Process → Output
- •M09 — If/Then Thinking
- •M10 — Mini Project
Project 1 — LED Lamp
- 1.Identify battery polarity
- 2.Connect resistor and LED
- 3.Test circuit
- 4.Explain why the resistor is required
Project 2 — Push Button Light
- 1.Build LED circuit
- 2.Insert push button
- 3.Test ON/OFF behavior
- 4.Modify circuit with two LEDs
Project 3 — Traffic Light
- 1.Use red/yellow/green LEDs
- 2.Create timing sequence
- 3.Explain real traffic signal logic
- 4.Add a button-controlled crossing mode
Project 4 — Mini Alarm
- 1.Connect button and buzzer
- 2.Create trigger circuit
- 3.Add LED indicator
- 4.Design a simple security scenario
Assessment Rubric
- ✓Component identification — 10 marks
- ✓Circuit assembly — 20 marks
- ✓Safety & polarity — 10 marks
- ✓Project working — 30 marks
- ✓Explanation — 20 marks
- ✓Creativity — 10 marks
Student can identify basic components, build a simple circuit and explain input/output in everyday systems.
LEVEL 1 · JUNIOR ROBOTICS BUILDER
2WD Robotic Car DIY Kit
Age 8–11 · Classes 3–5 · Recommended 10–12 weeks · Flagship entry-level robotics kit
⌄
2WD Robotic Car DIY Kit
Age 8–11 · Classes 3–5 · Recommended 10–12 weeks · Flagship entry-level robotics kit
Kit Components
- •2WD robot chassis
- •2 geared DC motors
- •2 rubber wheels
- •Front caster wheel
- •Arduino-compatible controller board
- •L298N or equivalent motor driver
- •Battery holder
- •Battery pack
- •Ultrasonic sensor (recommended)
- •IR sensor module (recommended)
- •Jumper wires
- •USB cable
- •Screws, nuts and spacers
- •Switch
- •Optional LEDs and buzzer
- •Basic screwdriver and assembly tools
Module Sequence
- •M01 — Introduction to Robotics
- •M02 — Robot Anatomy
- •M03 — Electricity, Battery & Polarity
- •M04 — DC Motors
- •M05 — Motor Driver
- •M06 — Arduino / Microcontroller Basics
- •M07 — Digital Output
- •M08 — Basic Coding & Timing
- •M09 — Robot Chassis Assembly
- •M10 — Motor Wiring
- •M11 — Movement Programming
- •M12 — Sensors Introduction
- •M13 — Debugging
- •M14 — Final Robot Challenge
Lesson Steps
- •1. Identify every component before assembly
- •2. Explain controller, motor driver, motors and power flow
- •3. Assemble chassis and wheels
- •4. Mount controller and motor driver
- •5. Connect motors
- •6. Connect battery and verify polarity
- •7. Upload a basic controller test program
- •8. Test each motor independently
- •9. Program forward, backward, left, right and stop
- •10. Introduce timing and functions
- •11. Add a sensor
- •12. Run challenge-based activities
- •13. Troubleshoot wiring/code
- •14. Complete final project and demonstration
Project A — Motor Test
- 1.Connect one motor
- 2.Run forward direction
- 3.Reverse polarity or driver direction safely
- 4.Compare motor behavior
- 5.Document result
Project B — Movement Robot
- 1.Program forward
- 2.Program reverse
- 3.Turn left/right
- 4.Add stop command
- 5.Create a square path
Project C — Robot Dance
- 1.Create movement sequence
- 2.Use functions
- 3.Tune delays
- 4.Add LEDs/buzzer
- 5.Perform demonstration
Project D — Distance Sensor
- 1.Connect ultrasonic sensor
- 2.Read distance
- 3.Display/print value
- 4.Define safe distance
- 5.Trigger stop
Project E — Basic Obstacle Robot
- 1.Move forward
- 2.Measure distance
- 3.Stop when obstacle appears
- 4.Turn
- 5.Continue route
- 6.Test multiple obstacles
Final — My First Smart Robot
- 1.Assemble complete robot
- 2.Write movement program
- 3.Integrate one sensor
- 4.Solve a route challenge
- 5.Explain design to teacher
Coding Concepts
- •Variables
- •Constants
- •Digital input/output
- •Functions
- •Delay/timing
- •Conditions
- •Basic loops
- •Motor control functions
- •Sensor reading
- •Debugging with serial output
Assessment Rubric
- ✓Hardware identification — 10
- ✓Assembly quality — 15
- ✓Wiring & safety — 15
- ✓Coding fundamentals — 15
- ✓Working robot — 20
- ✓Challenge performance — 15
- ✓Viva/project explanation — 10
Student can assemble a 2WD robot, control DC motors through a microcontroller, write beginner-level code and integrate a basic sensor.
LEVEL 2 · SMART ROBOTICS DEVELOPER
Sensors, Automation & Autonomous Decisions
Age 9–12 · Classes 4–6 · Recommended 12 weeks
⌄
Sensors, Automation & Autonomous Decisions
Age 9–12 · Classes 4–6 · Recommended 12 weeks
Kit Components
- •Arduino-compatible board
- •2WD robot chassis
- •Motor driver
- •DC geared motors
- •Ultrasonic sensor
- •IR obstacle sensors
- •LDR
- •Servo motor SG90
- •RGB LED
- •Buzzer
- •Push buttons
- •Breadboard
- •Jumper wires
- •Battery pack
- •Optional temperature/humidity sensor
Modules
- •M01 — Digital vs Analog
- •M02 — Sensor Fundamentals
- •M03 — Ultrasonic Distance
- •M04 — IR Detection
- •M05 — LDR & Light
- •M06 — Servo Motors
- •M07 — Variables & Data
- •M08 — If/Else Conditions
- •M09 — Loops
- •M10 — Sensor-Based Decisions
- •M11 — Automation
- •M12 — Debugging & Calibration
- •M13 — Smart Robot Project
Practical Steps
- •Read sensor datasheets/pin labels
- •Wire sensor safely
- •Read raw values
- •Observe values under different conditions
- •Create thresholds
- •Write if/else decisions
- •Connect decisions to motor actions
- •Calibrate sensor positions
- •Test edge cases
- •Document observations
Obstacle Avoider
- 1.Measure distance
- 2.Set safe threshold
- 3.Stop before obstacle
- 4.Scan left/right with servo
- 5.Select clearer direction
- 6.Move again
- 7.Tune behavior
Mini Radar
- 1.Mount ultrasonic sensor on servo
- 2.Sweep 0–180°
- 3.Measure distance at intervals
- 4.Display readings
- 5.Identify nearest obstacle
Automatic Door
- 1.Use ultrasonic/IR sensor
- 2.Set detection range
- 3.Move servo
- 4.Add open/close timing
- 5.Add manual override
Smart Parking Sensor
- 1.Measure distance
- 2.Define parking zones
- 3.Use LEDs/buzzer
- 4.Create safe/near/danger states
- 5.Test with objects
Assessment Rubric
- ✓Sensor wiring — 15
- ✓Data interpretation — 15
- ✓Programming logic — 20
- ✓Automation project — 25
- ✓Calibration — 10
- ✓Viva — 15
Student understands sensors as robot inputs and can create rule-based autonomous behavior.
LEVEL 3 · ROBOTICS PROGRAMMER
Line Following, PWM & Robotics Algorithms
Age 11–14 · Classes 6–8 · Recommended 12–14 weeks
⌄
Line Following, PWM & Robotics Algorithms
Age 11–14 · Classes 6–8 · Recommended 12–14 weeks
Kit Components
- •2WD/4WD robot chassis
- •Arduino-compatible controller
- •Motor driver with PWM support
- •2 geared motors
- •IR line sensor array
- •Ultrasonic sensor
- •Encoder modules (optional)
- •Battery pack
- •Jumper wires
- •Mounting hardware
- •Test track / black line mat
Modules
- •M01 — Robot Motion Review
- •M02 — IR Sensor Array
- •M03 — Calibration
- •M04 — PWM & Motor Speed
- •M05 — Sensor Thresholds
- •M06 — Line Detection
- •M07 — Basic Line Following
- •M08 — Error & Correction
- •M09 — Sharp Turns
- •M10 — Junction Handling
- •M11 — Speed Optimization
- •M12 — Maze Logic
- •M13 — Competition Preparation
Step-by-Step Line Follower Guide
- •1. Build the robot
- •2. Mount sensor array at correct height
- •3. Test each sensor
- •4. Calibrate black/white readings
- •5. Program simple left/right correction
- •6. Add center tracking
- •7. Tune motor speeds
- •8. Handle sharp turns
- •9. Detect junctions
- •10. Add recovery when line is lost
- •11. Reduce unnecessary oscillation
- •12. Test on multiple tracks
- •13. Record lap time
- •14. Optimize and compete
Basic Line Detector
- 1.Read sensors
- 2.Map readings to black/white
- 3.Display state
- 4.Create calibration routine
Line Follower
- 1.Detect line position
- 2.Correct left/right
- 3.Maintain forward movement
- 4.Tune speed
Maze Robot
- 1.Detect intersections
- 2.Choose direction
- 3.Track route
- 4.Implement simple maze strategy
Run an internal SirKit Line Follower Challenge with practice track, qualification round, timed final and engineering-viva round.
Assessment Rubric
- ✓Sensor calibration — 15
- ✓Algorithm correctness — 20
- ✓Speed control — 15
- ✓Track performance — 25
- ✓Debugging — 10
- ✓Engineering explanation — 15
Student can build a sensor-driven robot that follows a path, tune motor speed and reason about robotics algorithms.
LEVEL 4 · IoT ROBOTICS DEVELOPER
ESP32, Wi-Fi, Web & Mobile Robotics
Age 12–15 · Classes 7–9 · Recommended 12–14 weeks
⌄
ESP32, Wi-Fi, Web & Mobile Robotics
Age 12–15 · Classes 7–9 · Recommended 12–14 weeks
Kit Components
- •ESP32 development board
- •2WD robot chassis
- •Motor driver
- •DC motors
- •Ultrasonic sensor
- •IR sensors
- •Temperature/humidity sensor
- •LDR
- •LEDs
- •Buzzer
- •Breadboard
- •Battery pack
- •USB cable
- •Optional OLED display
- •Optional Bluetooth-compatible controller
Modules
- •M01 — What is IoT?
- •M02 — ESP32 Introduction
- •M03 — GPIO
- •M04 — Wi-Fi Basics
- •M05 — Web Server
- •M06 — HTML Control Panel
- •M07 — Mobile Browser Control
- •M08 — Sensor Data
- •M09 — Smart Automation
- •M10 — Local IoT Dashboard
- •M11 — Remote Communication Concepts
- •M12 — IoT Security Basics
- •M13 — Final Smart Robot
Build Steps
- •Install board support
- •Connect ESP32
- •Run LED test
- •Connect to Wi-Fi
- •Create local web page
- •Add buttons
- •Map buttons to motor commands
- •Add live sensor readings
- •Create emergency stop
- •Test network failure behavior
- •Add authentication concept
- •Document the system
Phone-Controlled Robot
- 1.ESP32 Wi-Fi setup
- 2.Create control page
- 3.Add forward/back/left/right/stop
- 4.Test latency
- 5.Add battery status or sensor reading
Smart Room
- 1.Read LDR and temperature
- 2.Control LED/fan output
- 3.Create browser dashboard
- 4.Display values
- 5.Add threshold automation
IoT Security Monitor
- 1.Read motion/IR input
- 2.Trigger buzzer
- 3.Show browser alert
- 4.Log event
- 5.Add reset control
Final — IoT Smart Robot
- 1.Combine movement and sensors
- 2.Create browser UI
- 3.Display live data
- 4.Implement safety stop
- 5.Present architecture
Assessment Rubric
- ✓ESP32 setup — 10
- ✓Wi-Fi implementation — 20
- ✓Web/mobile control — 20
- ✓Sensor integration — 20
- ✓Safety & security — 10
- ✓Final project — 20
Student can connect a microcontroller to Wi-Fi and build a connected robotic or automation system.
LEVEL 5 · AI ROBOTICS DEVELOPER
AI, Computer Vision & Voice Robotics
Age 14–17 · Classes 8–11 · Recommended 14–16 weeks
⌄
AI, Computer Vision & Voice Robotics
Age 14–17 · Classes 8–11 · Recommended 14–16 weeks
Kit Components
- •ESP32-CAM or Raspberry Pi-class board
- •Camera module
- •Microphone module
- •Speaker/buzzer
- •2WD robot base
- •Motor driver
- •DC motors
- •Ultrasonic/IR sensors
- •LED indicators
- •Battery pack
- •Computer for AI experiments
- •Optional edge-AI accelerator depending on project
Modules
- •M01 — What is AI?
- •M02 — AI vs Automation
- •M03 — Data & Training Concepts
- •M04 — Computer Vision Basics
- •M05 — Images, Pixels & Classes
- •M06 — Object Detection Concepts
- •M07 — Camera Integration
- •M08 — Vision → Decision → Action
- •M09 — Face/Gesture Concepts
- •M10 — Voice Commands
- •M11 — AI Safety & Privacy
- •M12 — Robot Response Design
- •M13 — Final AI Project
Project Pipeline
- •Define the robot task
- •Choose sensor/camera
- •Collect or prepare sample data
- •Test detection model/tool
- •Connect detection result to controller
- •Create decision rules
- •Map decisions to motor actions
- •Test false positives/negatives
- •Optimize response
- •Document limitations
AI Object Detection Robot
- 1.Camera captures image
- 2.AI detects selected object
- 3.Controller receives result
- 4.Robot changes behavior
- 5.Test with different lighting and distances
Gesture Robot
- 1.Define gestures
- 2.Camera detects gesture
- 3.Map gesture to movement
- 4.Add safe stop gesture
- 5.Demonstrate
Voice Controlled Robot
- 1.Define commands
- 2.Capture voice
- 3.Convert to recognized command
- 4.Map command to movement
- 5.Add unknown-command safety response
Final — AI Vision Robot
- 1.Choose real-world use case
- 2.Build hardware
- 3.Integrate vision
- 4.Create decision logic
- 5.Test
- 6.Present model, limitations and future improvements
Assessment Rubric
- ✓AI concept understanding — 15
- ✓Camera/data setup — 15
- ✓Integration — 20
- ✓Decision logic — 15
- ✓Testing — 15
- ✓Final project — 20
Student understands the AI-to-action pipeline and can integrate vision or voice intelligence into a robotics project.
LEVEL 6 · AUTONOMOUS ROBOTICS ENGINEER
Advanced Sensors, Feedback & Autonomous Navigation
Age 15–18 · Classes 9–12 · Recommended 16–20 weeks
⌄
Advanced Sensors, Feedback & Autonomous Navigation
Age 15–18 · Classes 9–12 · Recommended 16–20 weeks
Kit Components
- •Advanced controller / ESP32 / Raspberry Pi-class computer
- •2WD or 4WD chassis
- •Motor driver
- •DC geared motors
- •Wheel encoders
- •IMU
- •Multiple ultrasonic sensors
- •IR array
- •Servo or pan-tilt mount
- •Camera
- •Battery management
- •Emergency stop
- •OLED/display (optional)
- •Mechanical mounting kit
Modules
- •M01 — Robotics System Architecture
- •M02 — Sensor Fusion Concepts
- •M03 — Encoders & Feedback
- •M04 — IMU Basics
- •M05 — Motor Speed Feedback
- •M06 — PWM & Control
- •M07 — PID Concept
- •M08 — Autonomous Navigation
- •M09 — Obstacle Mapping Concepts
- •M10 — Path Planning
- •M11 — State Machines
- •M12 — Fail-Safe Design
- •M13 — Testing & Validation
- •M14 — Engineering Documentation
Engineering Workflow
- •Define requirements
- •Draw system block diagram
- •Select hardware
- •Design power architecture
- •Build mechanical system
- •Wire sensors/actuators
- •Write low-level motor code
- •Implement feedback
- •Add navigation logic
- •Create safety states
- •Test one subsystem at a time
- •Integrate
- •Measure performance
- •Iterate
Autonomous Delivery Robot
- 1.Define pickup/drop zones
- 2.Detect obstacles
- 3.Plan route
- 4.Move autonomously
- 5.Stop at destination
- 6.Signal completion
Rescue Robot
- 1.Detect obstacle/heat/light indicators
- 2.Navigate test area
- 3.Identify target
- 4.Deliver/collect payload
- 5.Return safely
Security Patrol Robot
- 1.Define patrol route
- 2.Navigate checkpoints
- 3.Detect movement
- 4.Record event
- 5.Return to base
Assessment Rubric
- ✓System architecture — 15
- ✓Hardware engineering — 15
- ✓Control/feedback — 20
- ✓Autonomy — 20
- ✓Safety — 10
- ✓Testing data — 10
- ✓Final engineering presentation — 10
Student can reason about robotics as a complete engineering system and develop a controlled autonomous prototype.
LEVEL 7 · SIRKIT YOUNG INNOVATOR
Innovation, Product Design & Competition
Age 14–18 · Classes 9–12 · Recommended 12–20 weeks
⌄
Innovation, Product Design & Competition
Age 14–18 · Classes 9–12 · Recommended 12–20 weeks
Core Skills
- •Problem identification
- •User research
- •Design thinking
- •Requirement definition
- •System architecture
- •Prototype planning
- •Electronics selection
- •Mechanical design
- •Programming
- •Testing
- •Iteration
- •Documentation
- •Presentation
- •Teamwork
- •Basic product thinking
Innovation Steps
- •01 — Identify a real problem
- •02 — Understand the user
- •03 — Research existing solutions
- •04 — Define the problem statement
- •05 — Brainstorm multiple solutions
- •06 — Select a feasible concept
- •07 — Draw system/block diagram
- •08 — Prepare bill of materials
- •09 — Build minimum viable prototype
- •10 — Program and integrate
- •11 — Test with measurable criteria
- •12 — Collect feedback
- •13 — Improve version 2
- •14 — Prepare demo
- •15 — Prepare pitch/presentation
Smart Agriculture
- 1.Moisture sensing
- 2.Automatic pump
- 3.Threshold logic
- 4.Water usage measurement
- 5.Dashboard/alert optional
Smart School
- 1.Identify school problem
- 2.Prototype automation
- 3.Use sensors
- 4.Create notification or control
- 5.Measure improvement
Safety Robot
- 1.Detect hazard
- 2.Decide response
- 3.Alert user
- 4.Navigate or act
- 5.Test failure cases
Smart Dustbin
- 1.Detect hand/bin level
- 2.Open lid
- 3.Measure fill level
- 4.Alert when full
- 5.Build enclosure
Smart Parking
- 1.Detect slot
- 2.Show occupancy
- 3.Guide user
- 4.Create prototype
- 5.Measure detection accuracy
Student Choice
- 1.Problem
- 2.Research
- 3.Design
- 4.Prototype
- 5.Test
- 6.Improve
- 7.Present
What needs solving?
What did you design?
How does it work?
Does it work?
How can it scale?
Assessment Rubric
- ✓Problem definition — 10
- ✓Research — 10
- ✓Design — 15
- ✓Prototype — 20
- ✓Technology integration — 15
- ✓Testing/iteration — 10
- ✓Presentation — 10
- ✓Innovation — 10
Student graduates from following kit instructions to independently designing and presenting a technology solution.
SirKit DIY Kit Family
Recommended product ladder; final pricing should be determined after component sourcing, packaging, curriculum and support costs.
| Kit | Level | Core Hardware | Main Outcome | Indicative Positioning |
|---|---|---|---|---|
| STEM Starter | 0 | Breadboard, LEDs, resistors, buttons, buzzer, motor | Basic circuits | Entry STEM |
| 2WD Robotic Car | 1 | Chassis, motors, controller, driver, wheels, battery, sensors | First programmable robot | Flagship beginner kit |
| Smart Sensor Robot | 2 | Ultrasonic, IR, servo, LDR, controller | Autonomous behavior | Intermediate |
| Line Follower Pro | 3 | IR array, PWM motor driver, robot chassis | Robotics algorithms | Competition kit |
| IoT Robotics | 4 | ESP32, Wi-Fi, sensors, robot platform | Connected robotics | Advanced |
| AI Vision Kit | 5 | Camera board/computer, mic, robot platform | AI-driven robot | Advanced AI |
| Autonomous Robotics | 6 | Encoders, IMU, multiple sensors, advanced controller | Autonomous engineering | Engineering |
| Innovation Lab | 7 | Modular components selected per project | Independent invention | Competition / capstone |
Standard lesson delivery system
60–75 Minute Class
- 10 min — Learn / concept
- 10 min — Demonstrate
- 25–30 min — Build
- 10–15 min — Code/test
- 5–10 min — Challenge/reflection
Teacher Preparation
- Check batteries and components.
- Pre-test the day's project.
- Keep one demo kit ready.
- Prepare wiring diagram.
- Keep backup components.
- Record common mistakes.
Student Workflow
- Read the objective.
- Identify components.
- Build carefully.
- Test one subsystem.
- Code small steps.
- Debug before asking for replacement.
- Document what changed.
Universal Troubleshooting Guide
Check battery, switch, polarity, common ground and loose wires.
Test motor separately, check driver input pins and motor power.
Check VCC/GND, pin mapping, mounting height and calibration.
Check USB cable, board/port selection, library errors and connections.
Measure skills, not memorization
Recommended Assessment Model
Certification Ladder
Three implementation models
1 class/week across the academic year. Best for long-term progression and certification.
2 classes/week for a semester-style completion model with more project time.
School lab + instructor training + kits + curriculum + competitions + certification.